

For many decades, Luthiers Mercantile (LMI) has served the stringed instrument making industry.
In 2024 they closed their doors, ending an era having helped to establish lutherie as a professional endeavor and fulfilling hobby. The owners and employees of LMI forward their sincere gratitude to all the many customers they have served over the years.
But this isn’t the end…

No one in our industry is better prepared to fulfill the needs of the lutherie community than StewMac!
StewMac’s broad catalog of parts and supplies, innovative tools, their evolving and expanding tonewood program, and their expert and responsive customer service (including a lifetime guarantee), is well known and respected.
LMI thanks StewMac for their friendship and for offering to carry on many of Luthier Mercantile’s products and services for the benefit of instrument makers everywhere. Be sure to contact them with any suggestions you have to better serve you as the industry transitions away from LMI.
For over 50 years, StewMac has been innovating, designing and manufacturing the industry's top tools, supplies, and parts to help you get the job done right and get the most from your guitars.
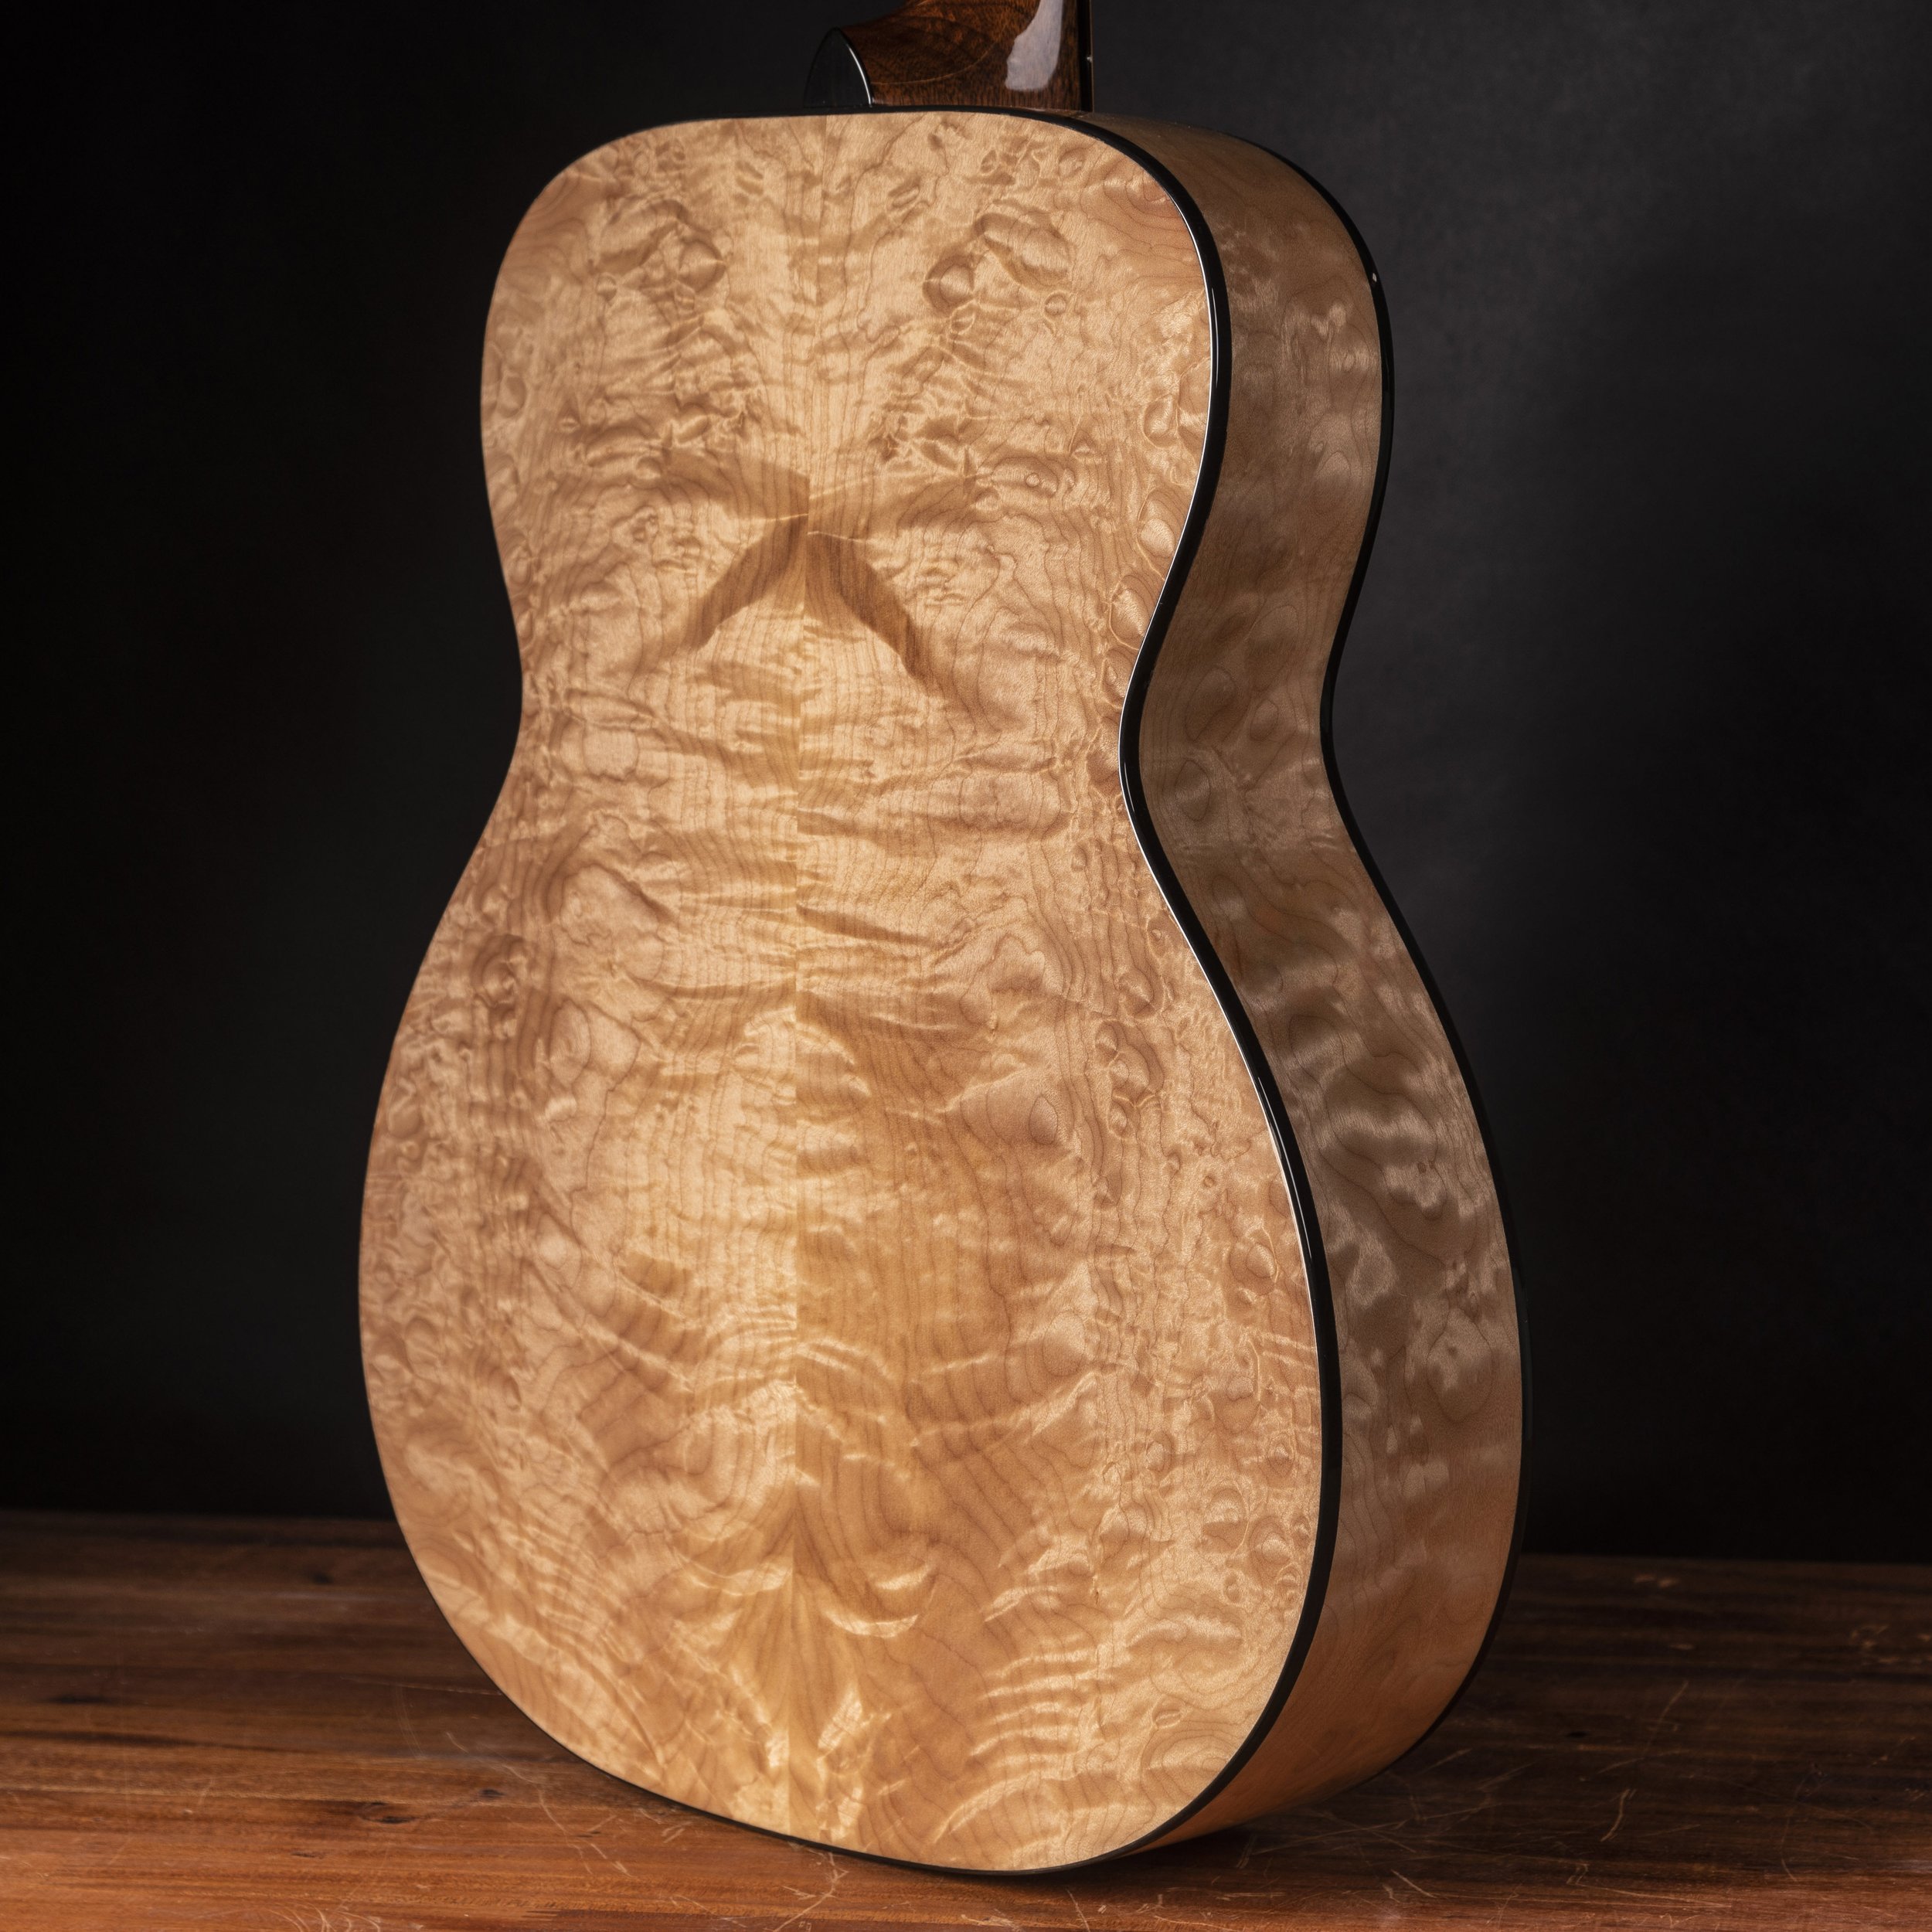

Want to handpick every detail for your masterpiece? StewMac’s WoodStax has you covered! You can choose the exact pieces of wood you receive—from old favorites to wild exotics, your custom guitar is waiting.


StewMac’s expansive catalog of innovative tools, parts, and supplies—backed by their Lifetime Promise—is well-known and respected by luthiers worldwide.


StewMAX Membership offers great benefits such as FREE Shipping, Exclusive Pricing, and more! It pays for itself in no time!
StewMac is your source for free video and article content designed to inform and inspire enthusiasts of all skill levels—from professional luthiers to players who just want to care for and improve their instruments.
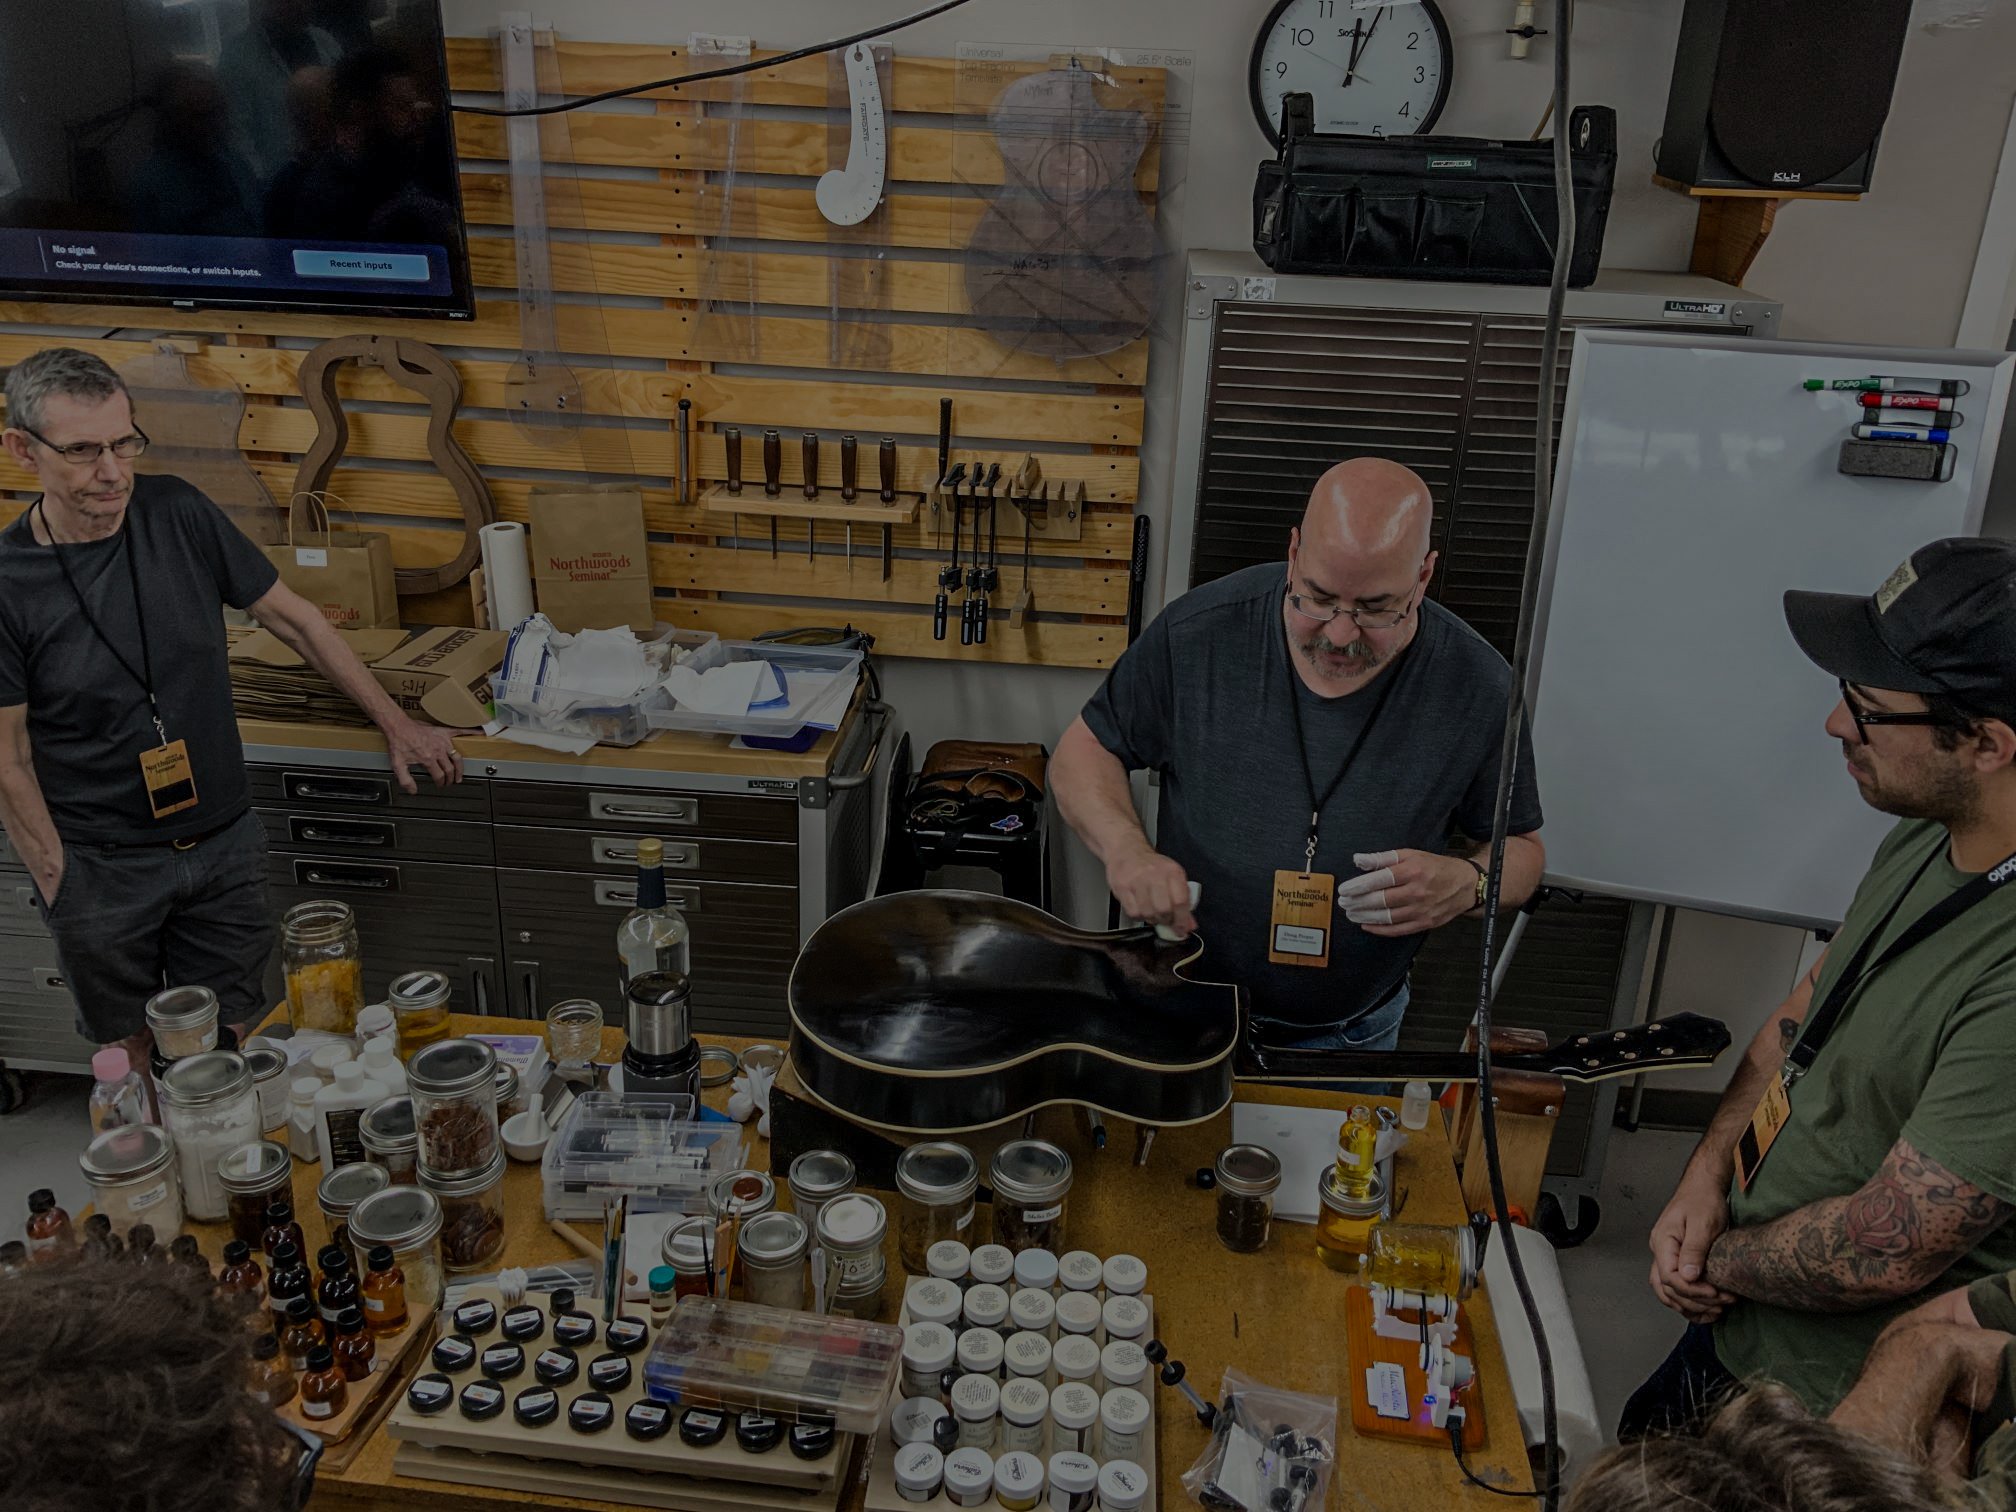
Robbie O’Brien and his Lutherie Academy have been a longtime valued partner of LMI. His offerings in lutherie education will continue on and are expanding, now with full product support from StewMac! Please be sure to visit his site to learn more about courses, video instruction, and much more!